Planting Culantro Seeds: A Step-by-Step Guide
A Step-By-Step Guide On How To Plant Culantro Seeds
Culantro Seeds for planting
If you love the unique and strong flavor of culantro and want to have a ready supply of this tropical herb in your own garden, planting culantro seeds is an excellent option. In this guide, we will take you through the step-by-step process, from choosing the right location to preparing the soil and caring for the plants as they grow. So, let's get started and learn how to plant culantro seeds so you can enjoy fresh, flavorful culantro in your cooking all year round!
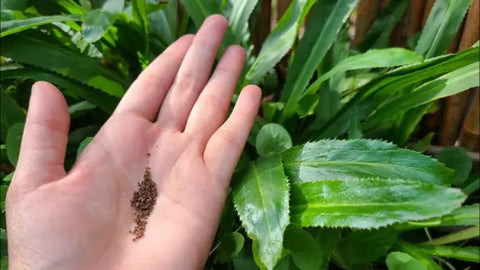
A Step-By-Step Guide On How To Plant Culantro Seeds
1. How Do You Prepare Culantro Seeds For Planting?
2. How To Plant Culantro Seeds
3. How To Harvest Culantro Leaves
4. Finally,
1. How Do You Prepare Culantro Seeds For Planting?
Here are the detailed steps for preparing culantro seeds for planting:
1.1 Harvest Culantro Seeds
Once the culantro plants reach maturity, they will produce flower stalks that eventually turn brown and dry out. When this happens, cut the stalks with sharp garden shears, making sure to leave some stems attached to the stalks. Collect the seed pods in a container, being careful not to crush them.
1.2 Remove Seeds from the Pods
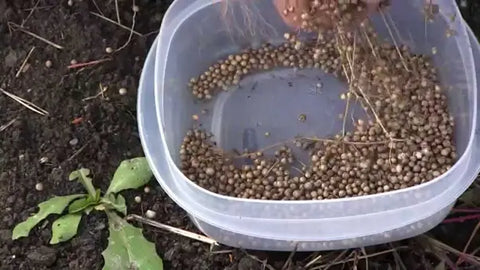
Once the seed pods are dry, break them open to remove the seeds. You can do this by hand or by rubbing the seed pods between your hands over a bowl. Discard any empty or shriveled seeds, as these are unlikely to germinate.
1.3 Clean the Seeds
Pour the collected seeds into a fine-mesh strainer or sieve and rinse them under running water to remove any remaining debris or chaff. Shake the strainer to get rid of any excess water.
1.4 Dry the Seeds Again
Spread the cleaned seeds out on a clean, dry surface, such as a tray or plate, and allow them to air-dry for another 2-3 days. Make sure they are completely dry before storing them.
1.5 Store the Seeds
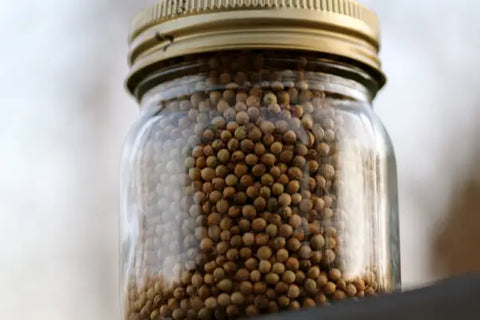
Place the seeds in an airtight container, such as a glass jar or plastic bag, and label it with the date of harvest. Store the container in a cool, dry, and dark place, such as a pantry or refrigerator. Culantro seeds can remain viable for up to 5 years if stored properly.
By following these steps, you can ensure that your culantro seeds are properly prepared for planting and have the best chance of germinating and growing into healthy plants.
2. How To Plant Culantro Seeds
By following these steps, you can successfully plant and grow culantro from seeds, and enjoy the flavorful leaves in your cooking:
2.1 Choose a Planting Location
Culantro thrives in partial shade to full sun and prefers well-drained, nutrient-rich soil. Choose a planting location that meets these requirements, whether it's a garden bed, raised bed, or container.
2.2 Prepare the Soil
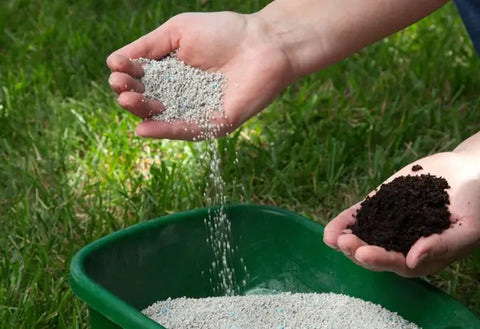
Cultivate the soil to a depth of about 6 inches and add compost or well-rotted manure to enrich the soil. Culantro prefers soil with a slightly acidic to neutral pH (6.0 to 7.5). Mix in a balanced fertilizer before planting, such as a 10-10-10 blend.
10-10-10 is a type of fertilizer blend that is commonly used in gardening and agriculture. It is a balanced, all-purpose fertilizer that contains equal parts of three essential nutrients: nitrogen (N), phosphorus (P), and potassium (K), which are represented by the numbers 10-10-10 on the fertilizer packaging.
2.3 Sow the Seeds
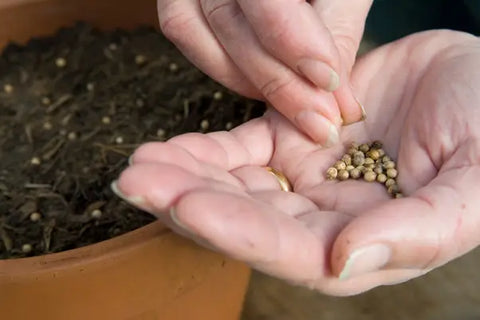
Sprinkle the culantro seeds on top of the soil and lightly press them down. Culantro seeds are tiny and can be challenging to handle, so you may want to mix them with sand or vermiculite to make sowing easier. Space the seeds about 6 inches apart to allow for mature plant growth.
2.4 Cover the Seeds
Cover the seeds with a thin layer of soil, about 1/4 inch deep. Lightly press the soil down to ensure good seed-to-soil contact.
2.5 Water the Seeds
Water the soil lightly to avoid washing away the seeds. Cover the seeds with a thin layer of soil, about a quarter-inch thick.
2.6 Thin the Seedlings
Once the seedlings have grown to about 1-2 inches tall, thin them out to about 6-8 inches apart to allow for mature plant growth. Pinch off the weaker seedlings at the base, leaving only the healthiest ones.
2.7 Fertilize Regularly
Fertilize your culantro plants every four to six weeks throughout the growing season to ensure they have a steady supply of nutrients.
3. How To Harvest Culantro Leaves
Here are some steps to follow for harvesting culantro leaves:
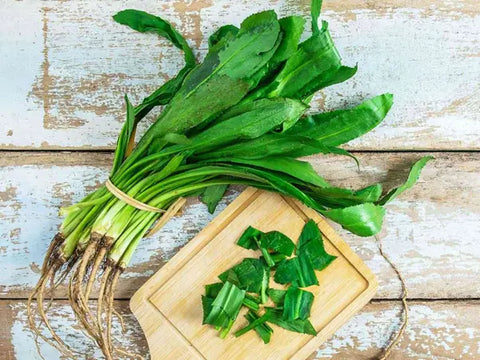
1. Wait for the Leaves to Grow: Culantro leaves will start to grow once the plant has established itself. You can harvest the leaves once they reach a size of 4-6 inches tall.
2. Choose the Right Time of Day: Harvest culantro leaves in the morning after the dew has dried but before the heat of the day sets in. This will help the leaves retain their flavor and texture.
3. Snip the Outer Leaves: Use sharp scissors or pruners to snip off the outer leaves, leaving a few inches of stem attached so the plant can regrow. Try to avoid cutting into the central growing point of the plant.
4. Leave Some Leaves: Avoid harvesting more than one-third of the plant at a time to avoid damaging the plant. Leave some leaves on the plant to allow it to continue photosynthesizing and growing. This will aid in the preservation of the leaves' flavor and texture.
5. Wash and Store the Leaves: Rinse the harvested leaves in cool water and pat them dry with a paper towel. Store the leaves in a plastic bag or airtight container in the refrigerator for up to a week.
4. Finally,
By following the steps on how to plant culantro seeds, you can successfully plant, grow, and harvest your own culantro plants. With proper care and attention, your culantro plants can provide you with an abundant harvest of leaves and seeds for years to come. So, roll up your sleeves, get your hands dirty, and enjoy the satisfaction of growing your own delicious and aromatic culantro! If you're in search of culantro seeds, look no further than The Rike. Our store offers a wide selection of high-quality culantro seeds, as well as other seed varieties for you to choose from.


Leave a comment